Table of Contents
Manage Floating IPs
This manual provide a quick help on how to allocate, release, associate or disassociate the floating IPs using Floating IPs Dashboard.
To login:
Authenticate using: Keystone Credentials
Domain: gwdg
User Name: your academic email (e.g. myname@gwdg.de)
Password: your Password
Allocate / Release Floating IPs
When you need a new floating IP for your instance or load-balancer, you have to first allocate it to your project by following these steps:
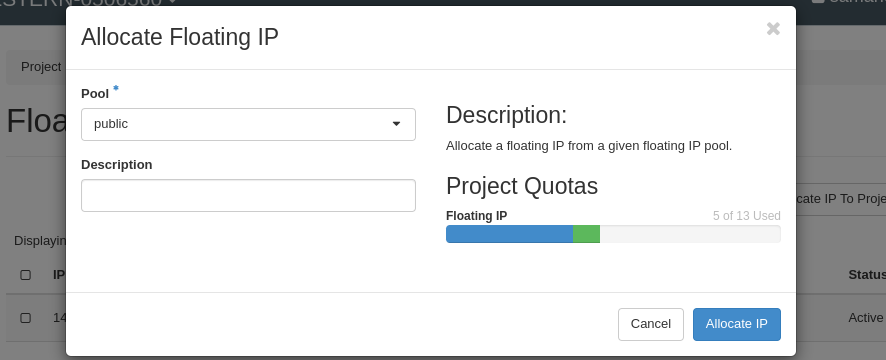
1- From the left menu bar, select Project→Network→Floating IPs and then click “Allocate IP To Project”. (The button is deactivate if your quota is completely used.)
2- In the opened form, leave the “Pool” as “public”, optionally write a description and click “Allocate IP”. The new IP will be shown in the list.
You can release an IP by following these steps:
1- Be sure that the value under column “ Mapped Fixed IP Address” is “-” which means the IP is not in use. Otherwise, you have to first disassociate the IP.
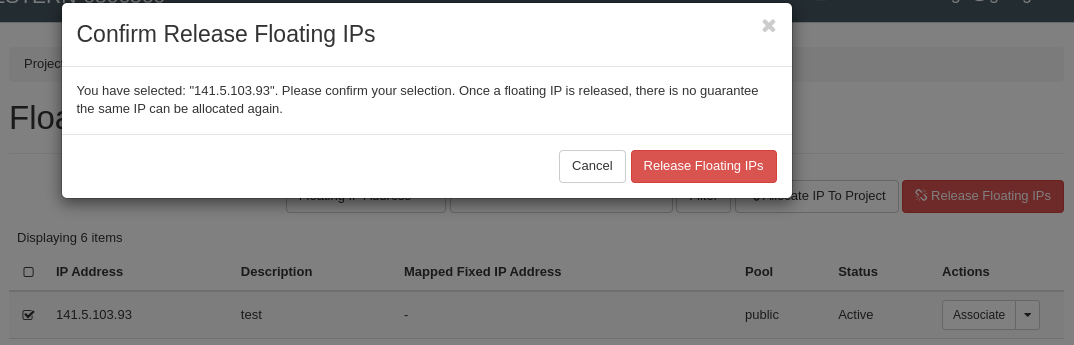
2- Select the IP and click “Release Floating IPs”.
3- In opened form, check the IP again and confirm your request by clicking “Release Floating IPs”.
Associate / Disassociate Floating IPs
After allocating an IP yo your project, you can associate it with your instance by following these steps:
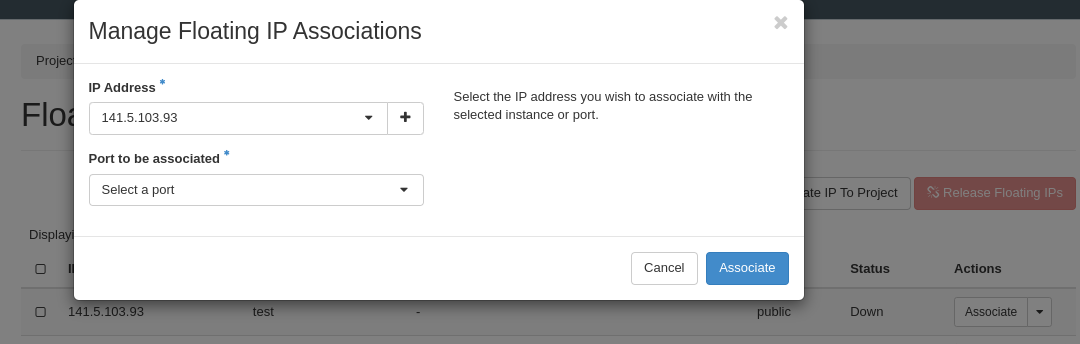
1- Click the “Associate” on the very right of the IP row.
2- In the opened form, leave the “IP Address” as selected one and select your target instance (or load-balancer) as “Port to be associated”.
3- Check the information and click “Associate”.
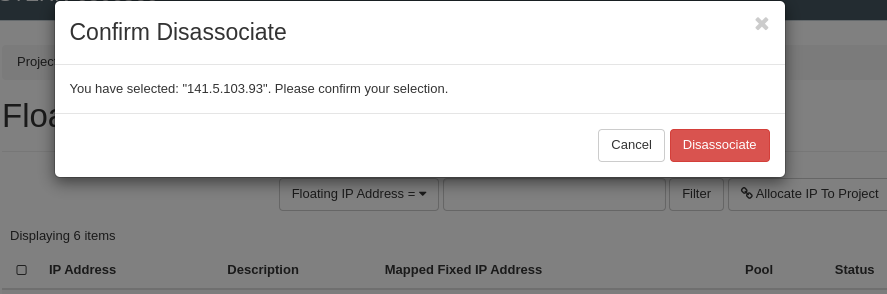
You can disassociate an IP from your instance (to either release it or associate it with another instance) by following these steps:
1- Click the “Disassociate” on the very right of the IP row.
2- In the opened form, check the IP again and confirm your request by clicking “Disassociate”.