Table of Contents
OpenConnect (Linux)
On Linux systems, both the Cisco AnyConnect-Client and its open implementation OpenConnect can be used to connect to the former VPN of GWDG. We encourage you to use OpenConnect.
This guide should only be used if there is a specific reason not to use eduVPN!
Installation and configuration of OpenConnect (with NetworkManager)
This tutorial has been designed and tested for Ubuntu 18.04 systems. For other distributions, the necessary packages and the user interface may differ. You can find screenshots for almost any step by clicking on “(screenshot)”.
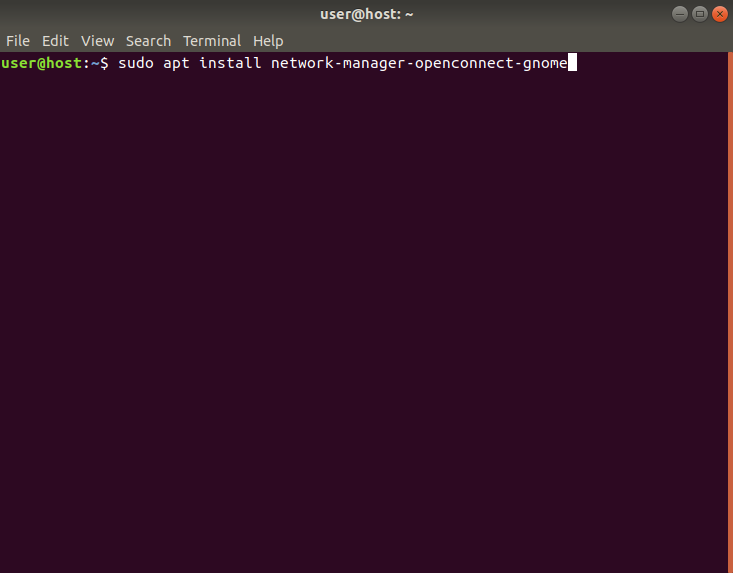
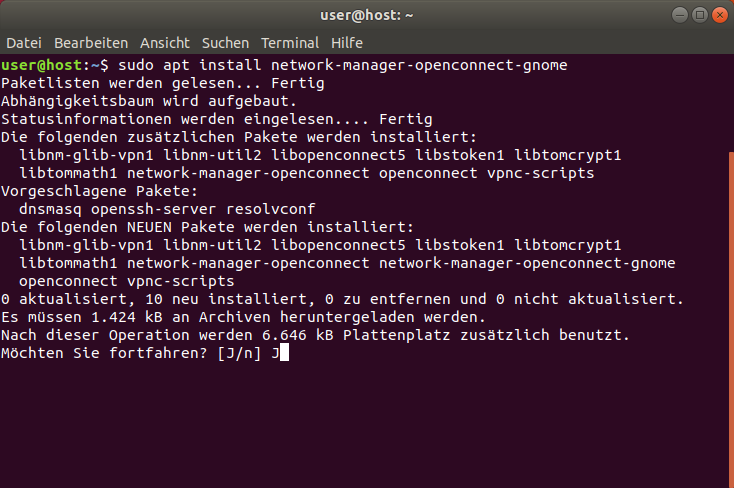
1. To install the necessary packages, run the following command and accept all the dependencies. (screenshot)
sudo apt-get install network-manager-openconnect-gnome
Alternatively, you can search and install network-manager-openconnect-gnome via the Ubuntu Software Center.
Afterwards log out of your current session and log back in, to activate the newly installed plugin.
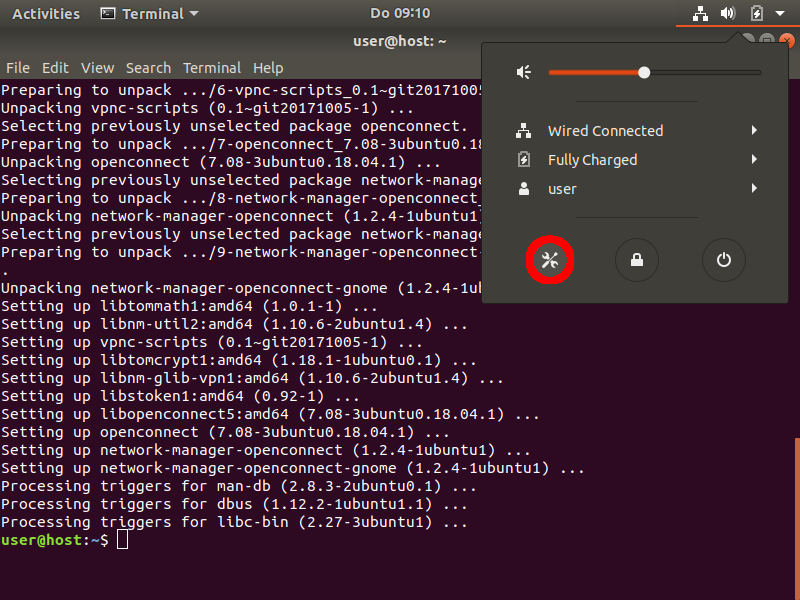
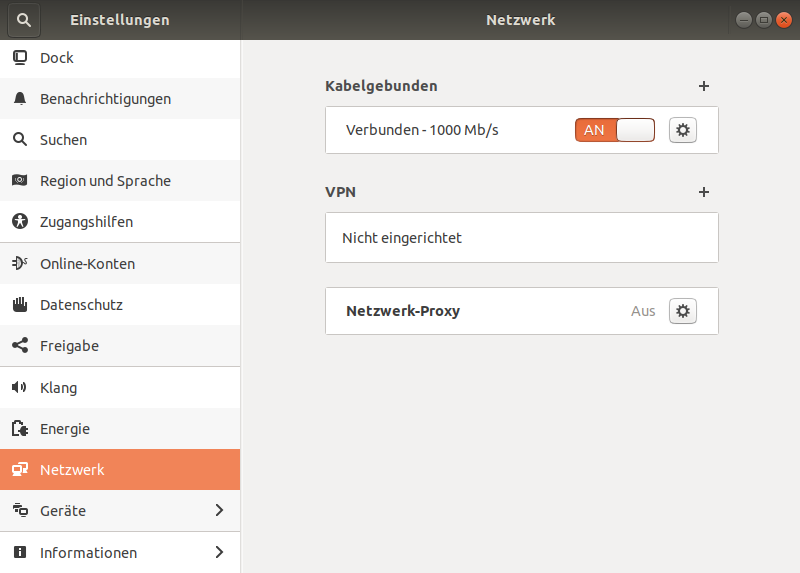
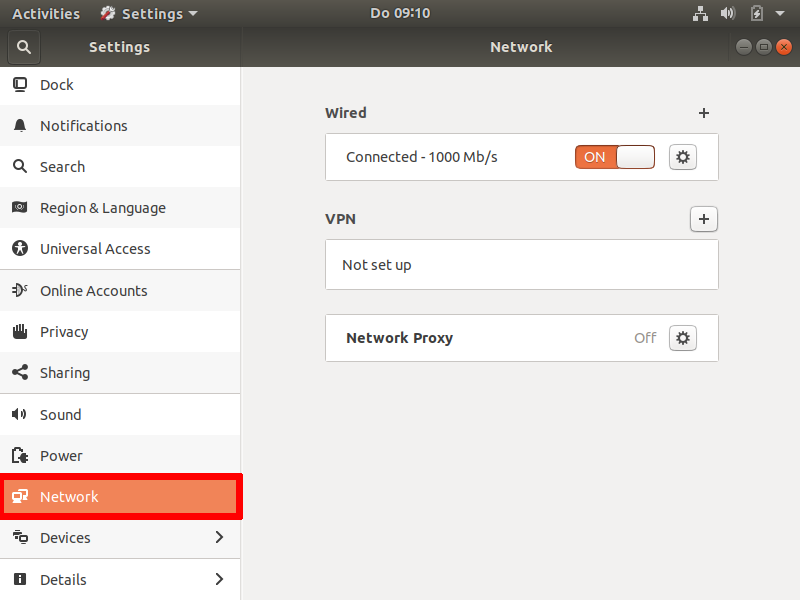
2. To configure the VPN connection, open your system settings and navigate towards network settings. (screenshot)
3. Click on the PLUS symbol to the right of “VPN”. (screenshot)
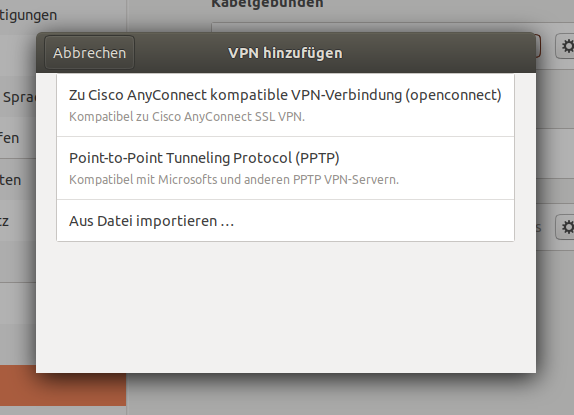
4. Choose the option Cisco AnyConnect compatible VPN connection (openconnect). (screenshot)
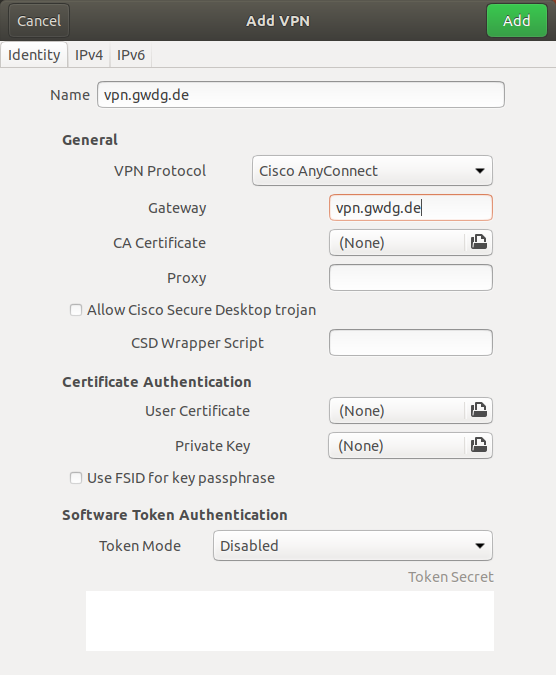
5. Choose any name for your VPN and insert vpn.gwdg.de (or an alternative gateway such as vpn-b.gwdg.de) into the field Gateway. (screenshot)
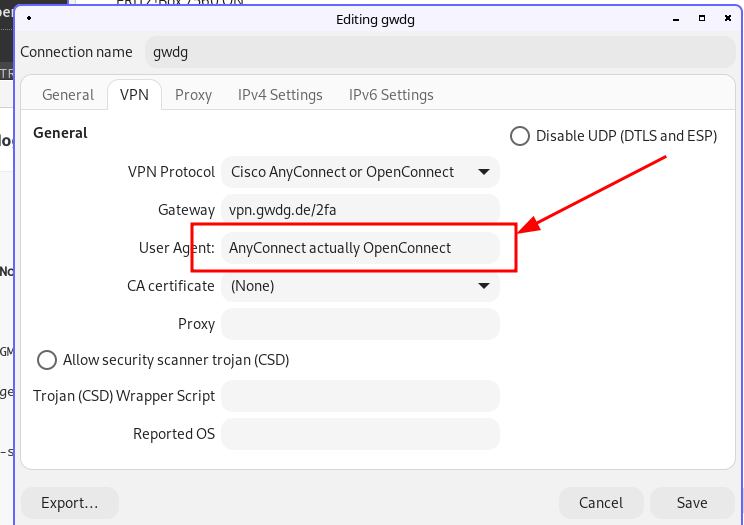
5.5 Add “AnyConnect actually OpenConnect” as the User Agent. Then click Add. (screenshot)
6. Activate the VPN by clicking the toggle switch inside your network settings. (screenshot)
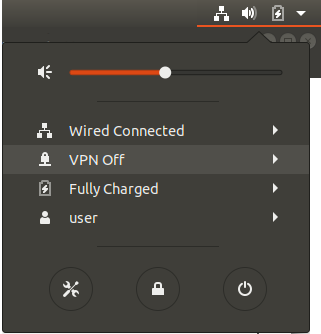
Alternatively, you can also click on your network connection in the top right corner and activate the VPN from there.
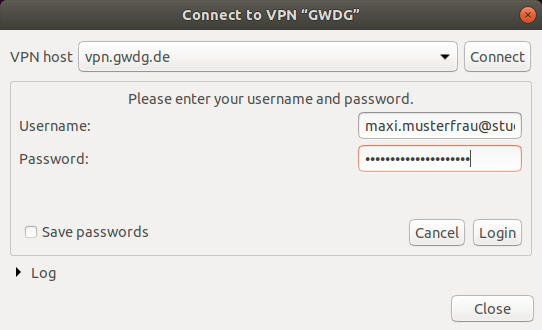
7. Insert your login credentials. This is typically your email address with the corresponding password. Then click on \\Login
(screenshot)
You are now connected with the VPN. You can end the VPN session by again toggling the switch button or by clicking disconnect in the network settings in the right top corner of your screen.
Cisco AnyConnect-Client
To use the Cisco AnyConnect-Client on Linux, you first have to install some dependencies. On Debian based distributions such as ubuntu, this can be done with the following command.
sudo apt-get install zlib1g zlibc libgtk2.0-0 libgdk3.0-cil libpango-1.0-0 libpangox-1.0-0
After installing these dependencies visit vpn.gwdg.de and follow the installation process as described by Cisco AnyConnect.
