Table of Contents
ISP Client Installation Windows
This is an illustrated quick guide leading through all steps of the installation and configuration of the ISP client software on Windows 10 Enterprise 64Bit Edition. Virtually all steps are the same for the “pro” or “home” version and for older Windows versions. Perhaps some dialogs (e.g. pop-up windows) may differ. For this guide the ISP Client software in version 8.1.2.0 was used, other versions may differ in detail, but the process should be similar in general.
ISP 8.1 only supports windows in 64bit flavor,
for 32bit windows use ISP 7.1.7!
The following chapters guide through the steps of the installation, each illustrated with a screen shot. Please click on the pictures to enlarge.
Summary on set up
This guide was created with a fresh Windows 10 Enterprise x86-64, fully patched and without any additional software.
At the time of creation of this guide the ISP client is version 8.1.2.0. The server runs TSM 7.1.3-100. TSM / ISP supports a difference of “1” in the major version of client and server, so this server supports as well TSM 6.3.X as ISP 8.1.X clients.
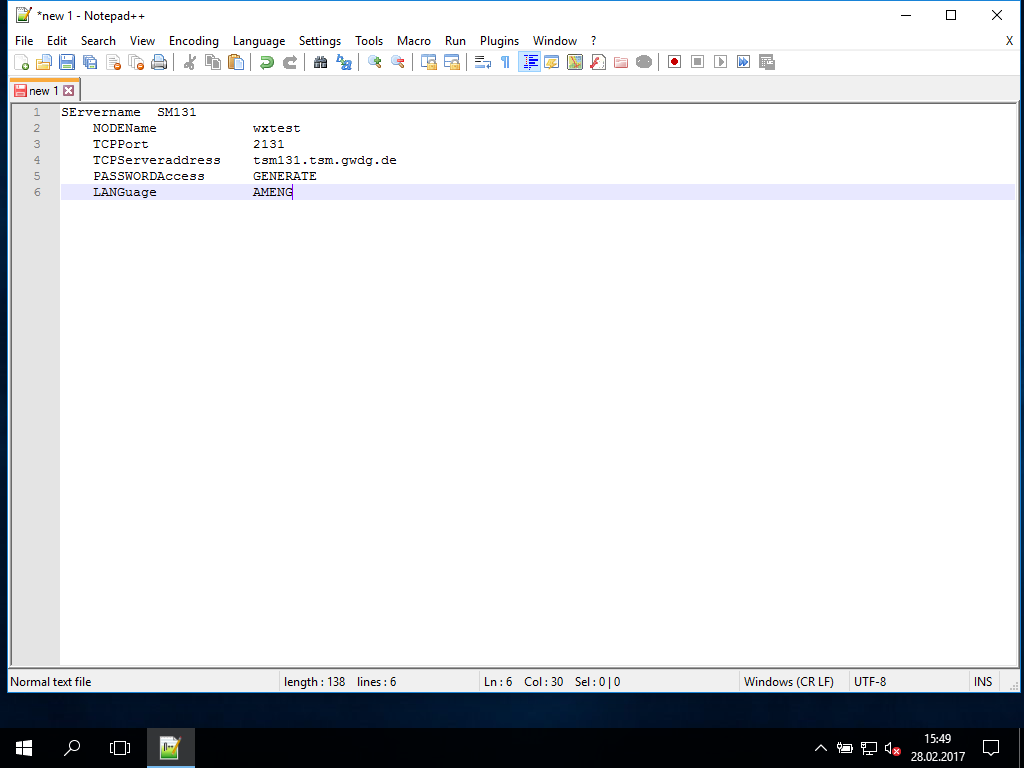
Parameters for the ISP configuration (notation according to the original IBM notation with mixed low- and upcase letters):
SErvername SM131: Server SM131 as used for nearly all University Göttingen usersNODEName wxtest: just a name for testingTCPPort 2131: Port at which the ISP server listens to incomming ISP client requestsTCPServeraddress tsm131.tsm.gwdg.de: FQDN of the ISP serverPASSWORDAccess GENERATE: store the password encrypted and do not ask for it everytimeLANGuage AMENG: switch language of CommandLineInterface (CLI) or GraphicalUserInterface (GUI) to AmericanEnglish
Obtaining the ISP Client software
The ISP Client software is available at the IBM download servers. IBM maintains two branches, one of which is the main(-tenance) version an the other runs under patches. You have to find out which directory tree holds the installation package with the most recent version number. The two sites to check are
Installation of the TSM client software
- Start the installation by executing the downloaded file “$VERSION-TIV-TSMBAC-WindowsX64.exe”, replace $VERSION with the version number of your downloaded setup file. This step extracts the TSM client software package
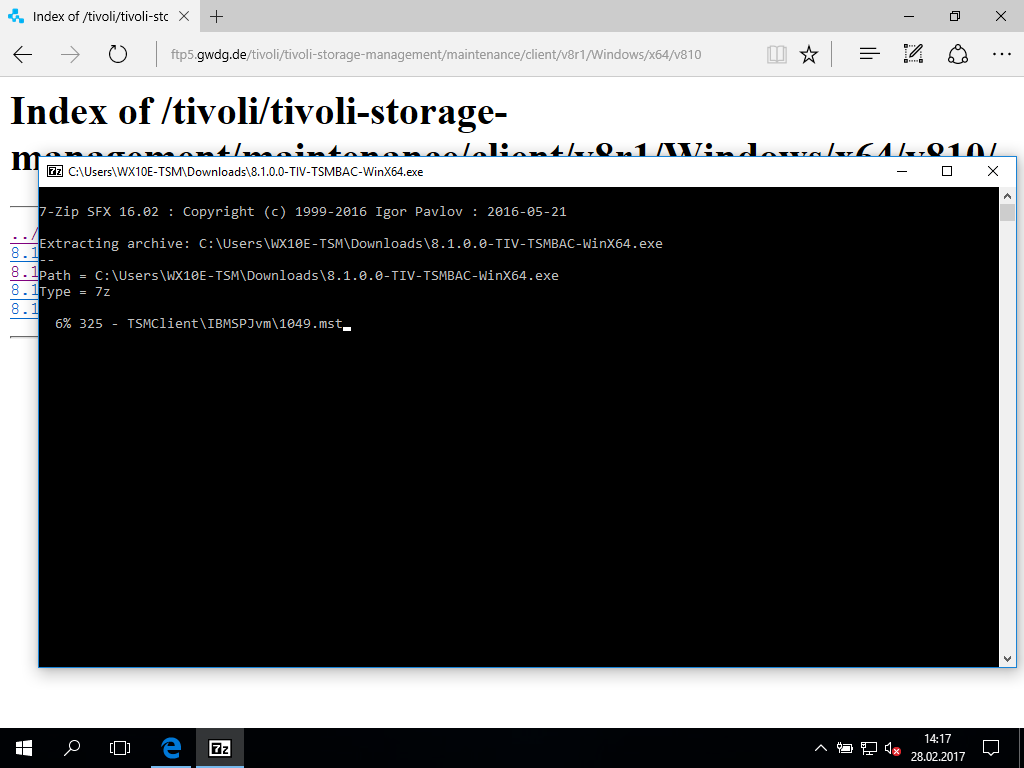
- Remember to delete these files after setup!
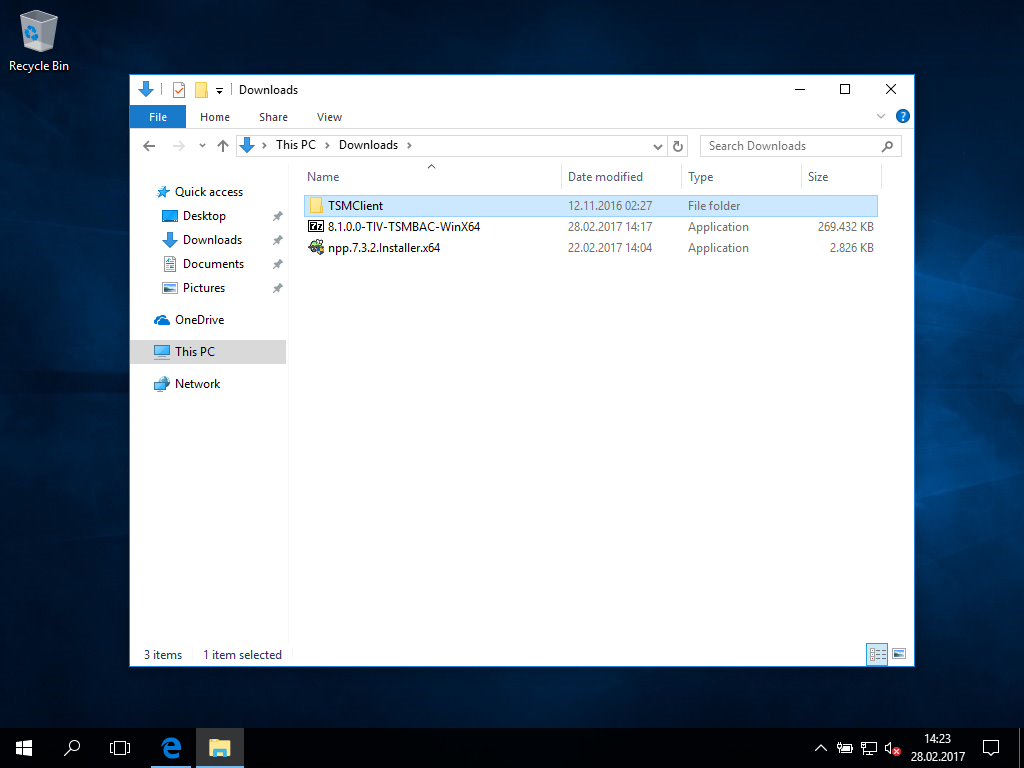
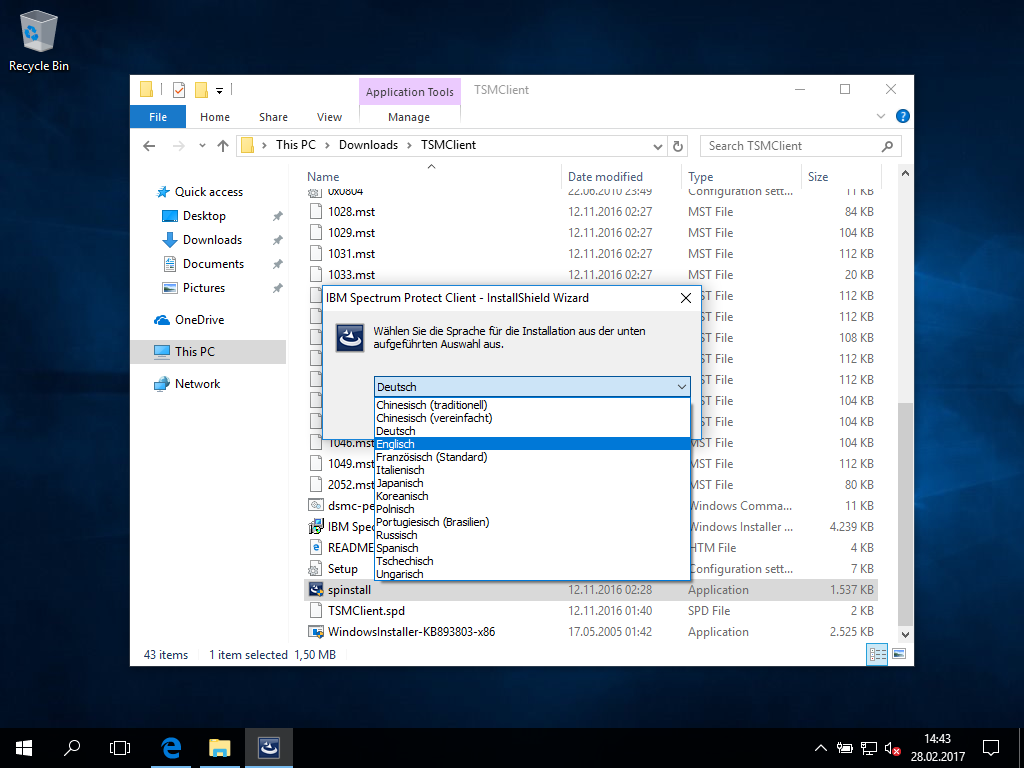
- With the File Explorer (right click onto the windows icon) navigate to the “Downloads” folder which contains the extracted files.
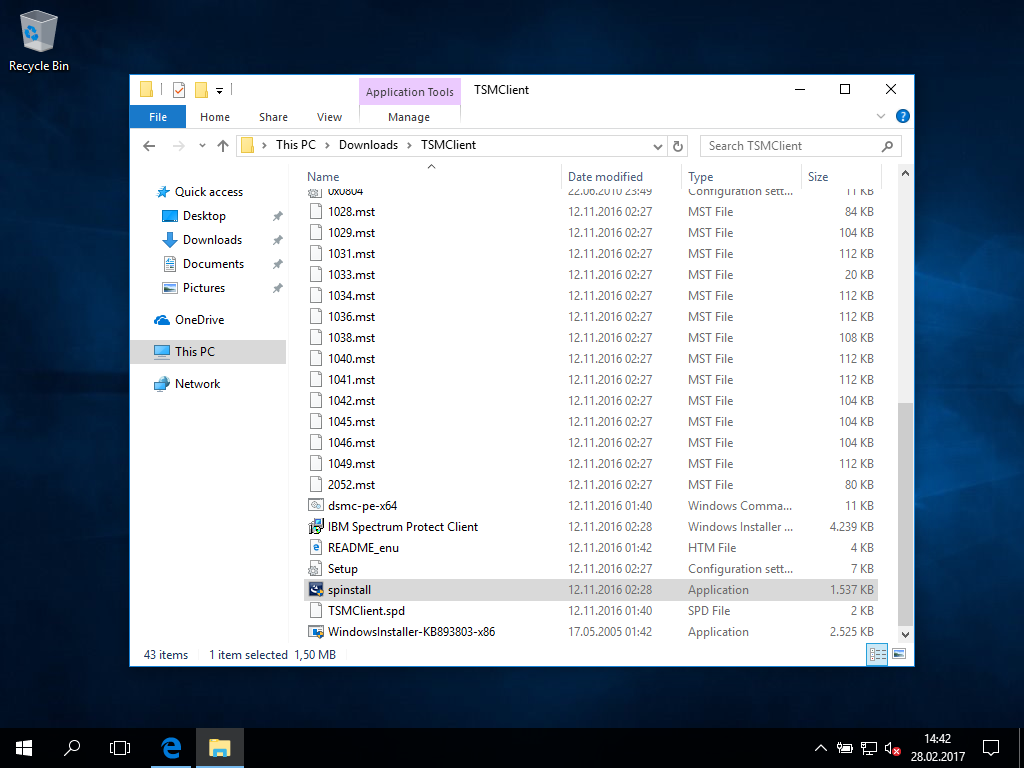
- Double click on the ispinstall to start the installation
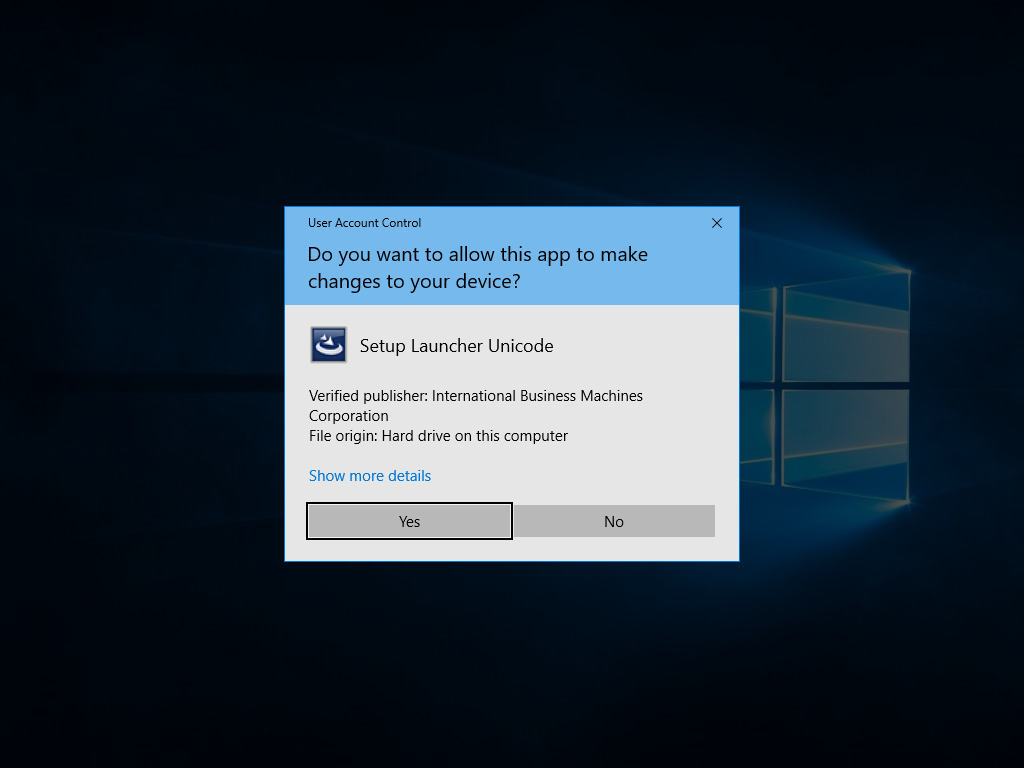
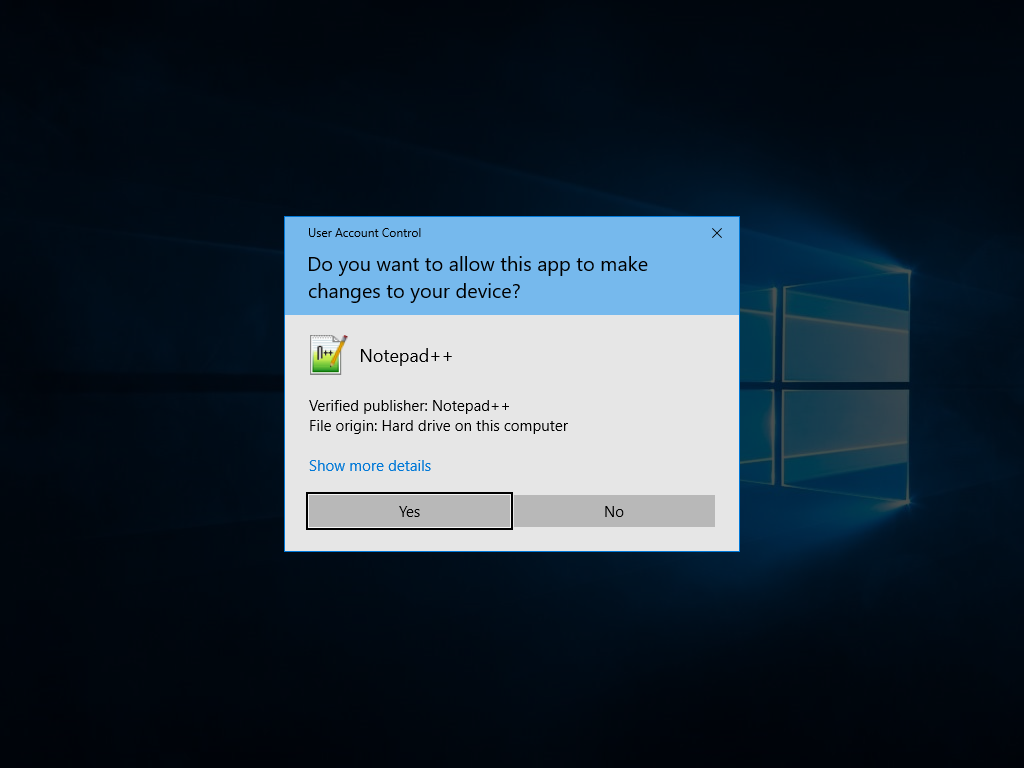
- Ordinarily the UAC asks for confirmation, you have to confirm to install the ISP client.
- Please always prefer “English” as installation language because it’s the common ISP language and the often the translations of the ISP error messages lack quality and clarity.
- Install the required runtime libraries.
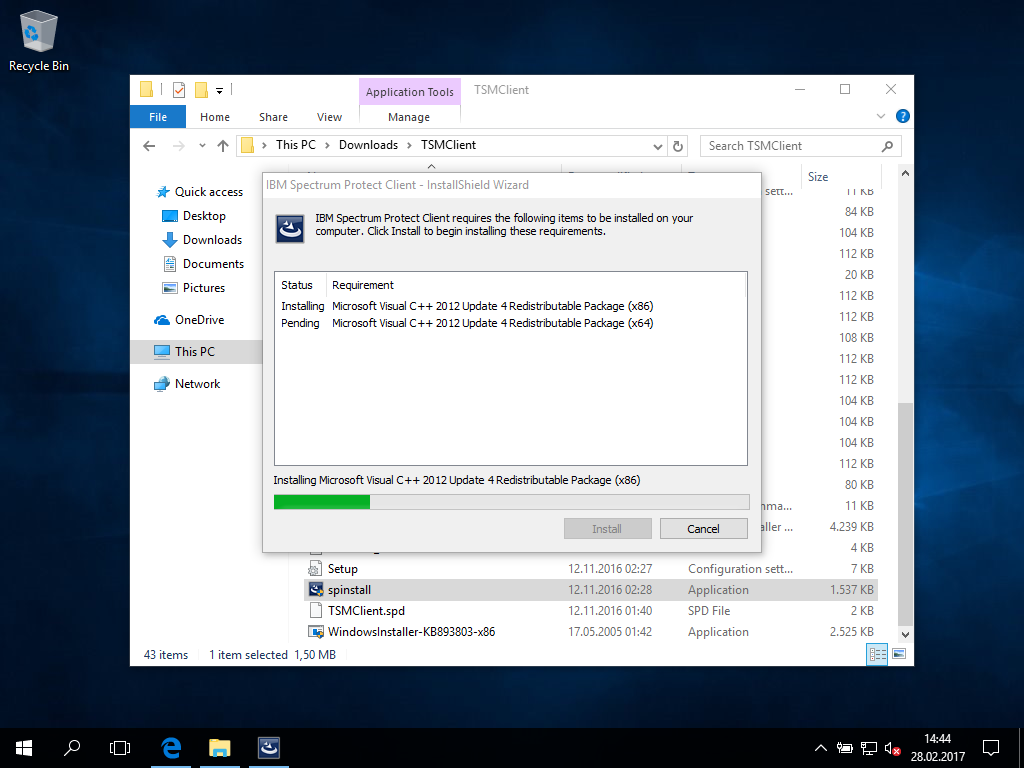
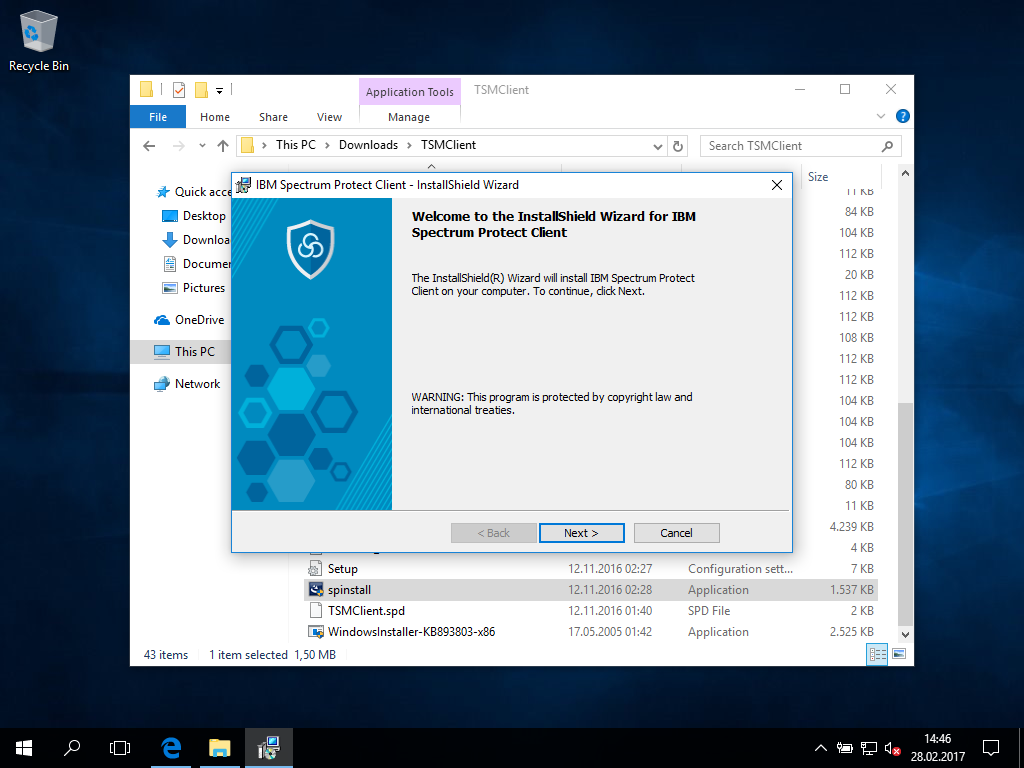
- After installing the runtime packages the TSM installation starts.
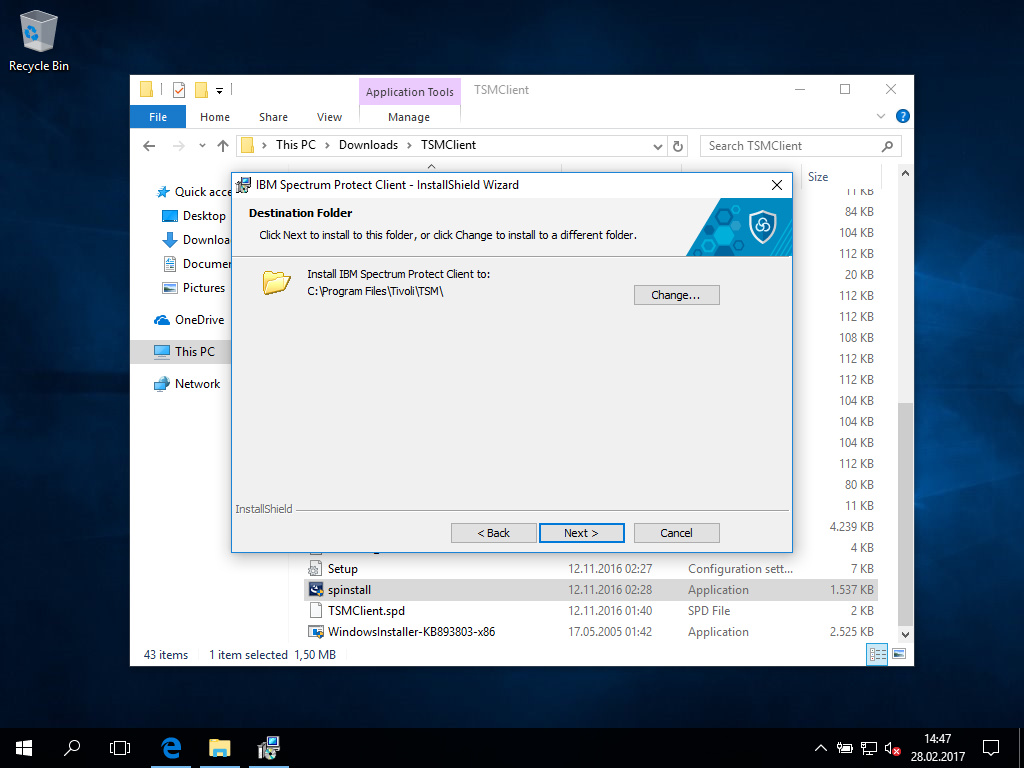
- You can accept the configuration defaults, for instance the installation target directory.
- In most cases, the setup type Typical will be the sane choice.
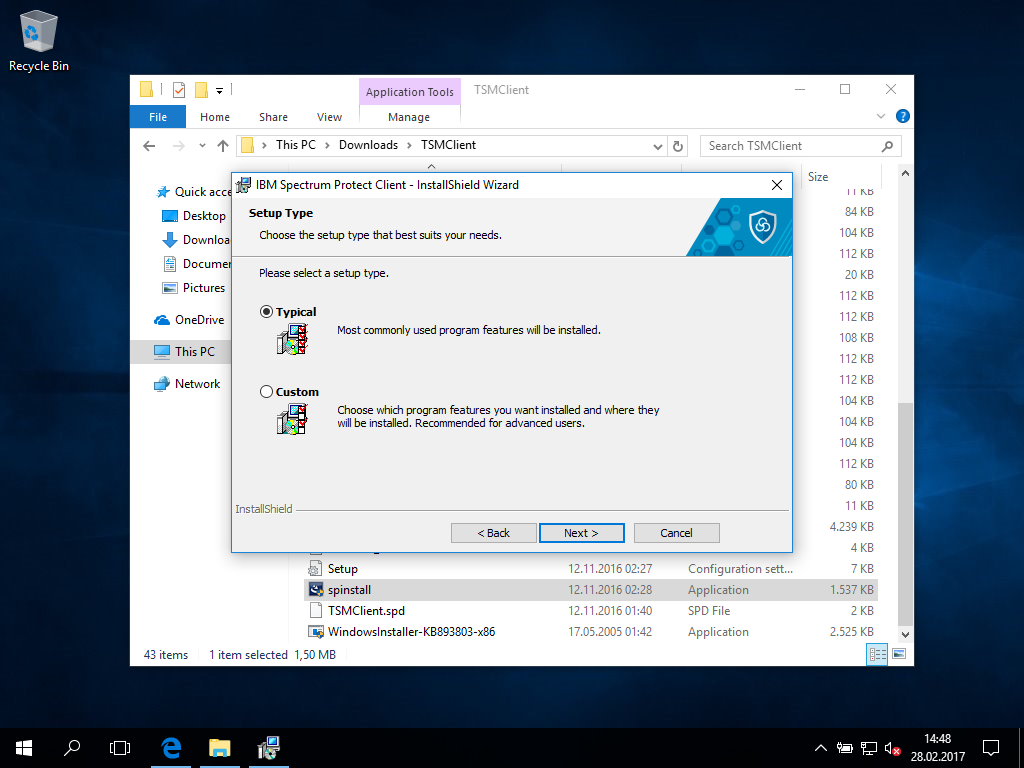
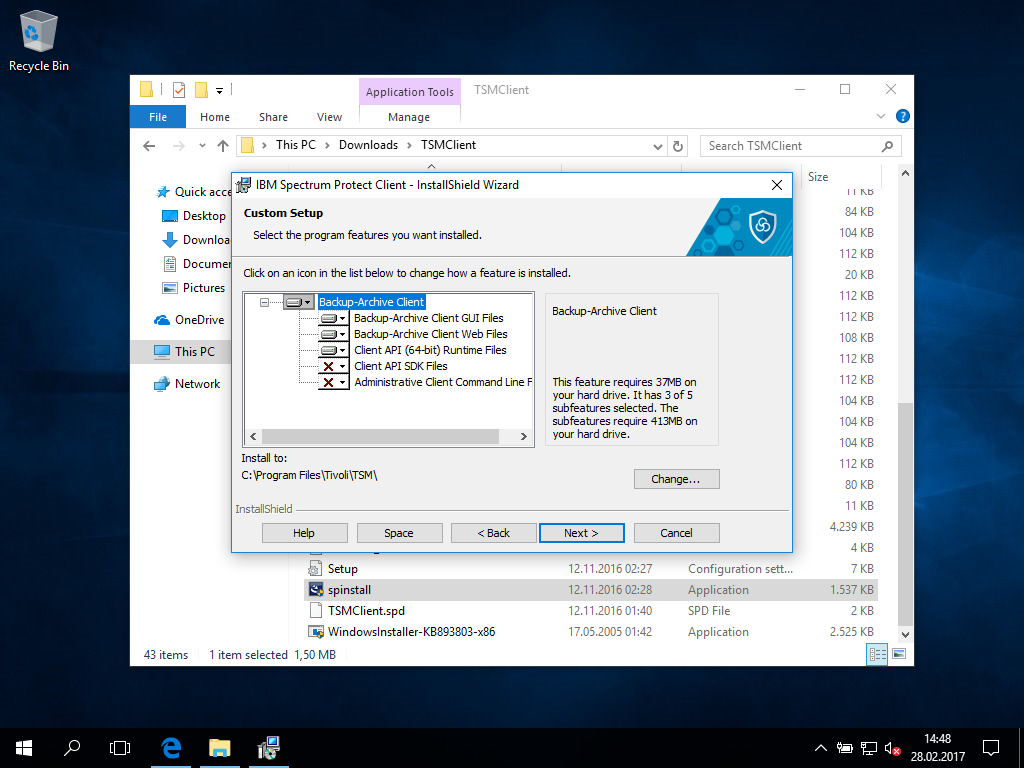
- Alternatively, custom allows to add features not required for daily operations in most cases.
The standard user CLI is always included int the typical setup, while the admin CLI often is not useful in standard setups.
- Start the installation

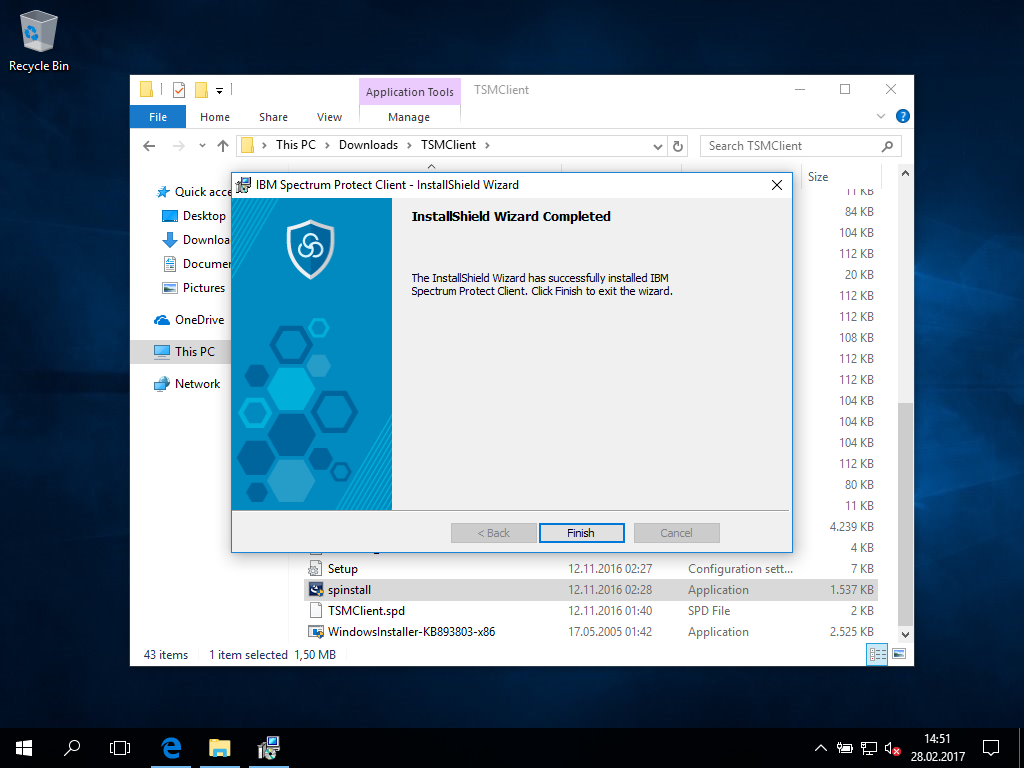
- and wait for the success message.
excurse: where to find ISP in the Windows menue
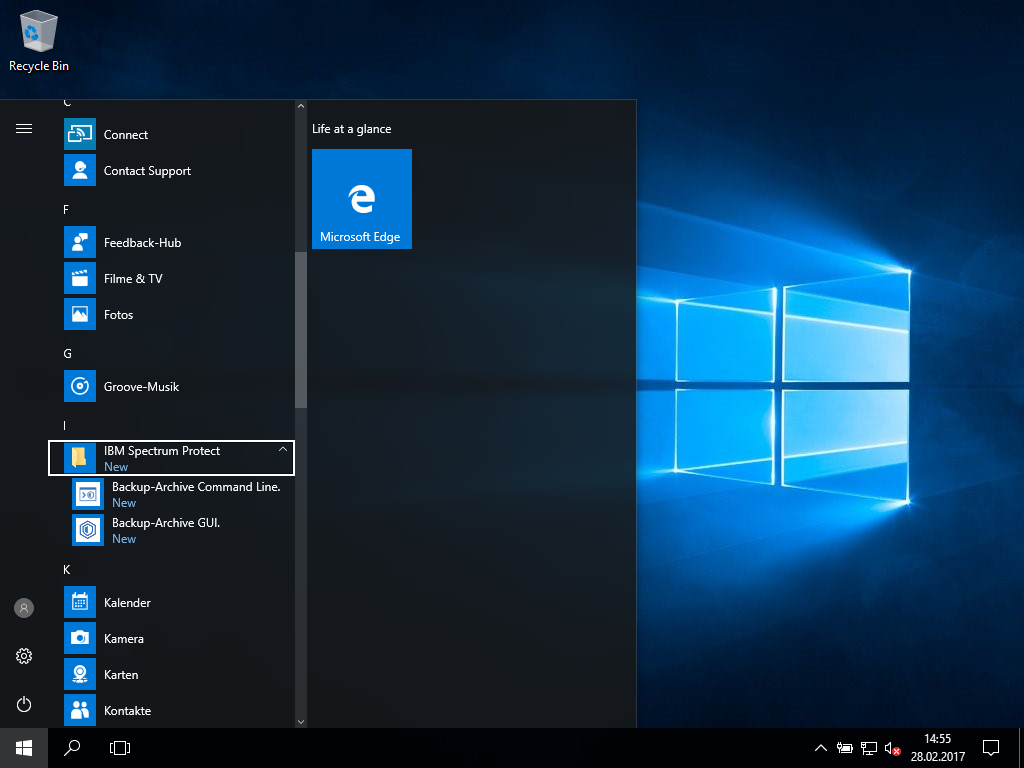
- right after installation, you will find ISP within Recently added
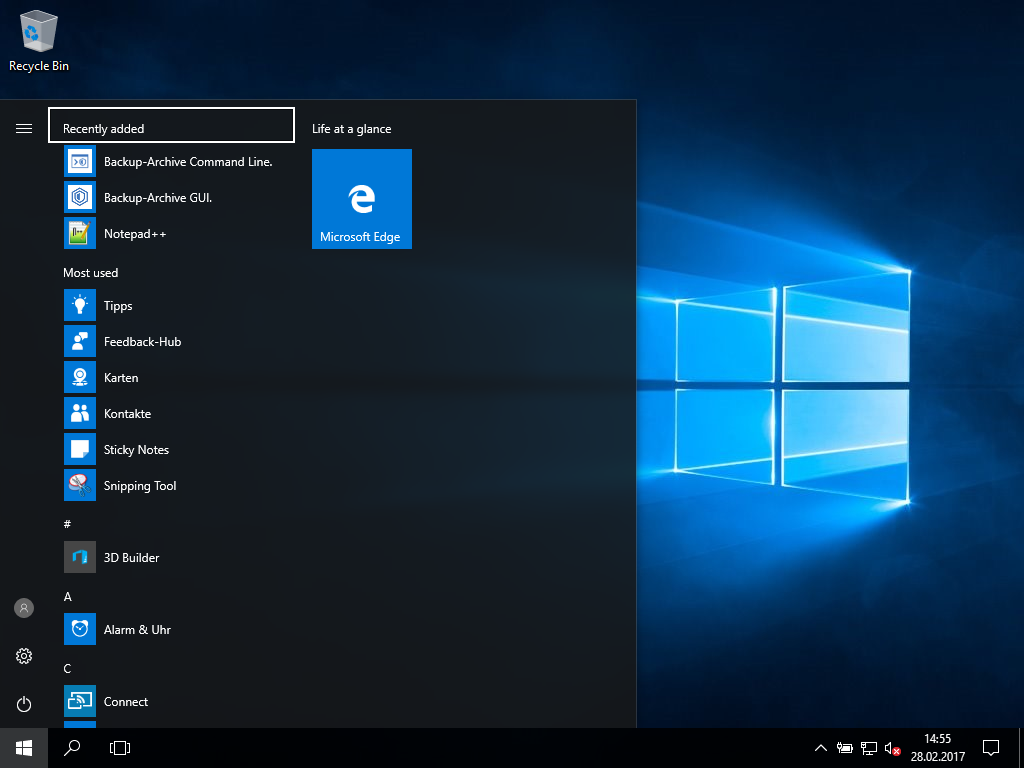
- It's also located at I ⇒ IBM Spectrum Protect
excurse: on language settings
As already mentioned, the localization of TSM / ISP causes more confusion than it helps. Therefore we strongly suggest to set the language of TSM/ISP to American English. Up to TSM 6.2 this was simple to achieve, by just do not installing a language pack. With TSM/ISP 7 the language packs became part of the client, but using the LANGuage option the client could be set up in english completly. Now with ISP 8 the option only affects the error messages. Therefore it is necessary to use a more dirty way to switch the client: manually replacing the language files with the English ones.
the following commands entered in the windows administrative command line (run cmd.exe as Administrator) will do so:
# navigate to the installation directory
cd "\Program Files\Tivoli\TSM\baclient"
# remove old localisation files
rmdir de_DE /S /Q
del dscdeu.txt
del dsc30deu.dll
del dsmc_deu.hlp
del fcmdeu.txt
# create new de_DE folder
mkdir de_DE
# copy en_US files to de_DE
copy en_US\* de_DE\
copy dscenu.txt dscdeu.txt
copy dsc30enu.txt dsc30deu.txt
copy dsmc_enu.hlp dsmc_deu.hlp
copy fcmenu.txt fcmdeu.txt
if your computer runs a different localized windows, just replacedeu or de_DE with your setup language.
unfortunately this steps will be necessary every time you update the client
initial basic configuration
There's no special configuration tool for ISP, it's done within the GUI client or using a text editor. If you prefer the GUI, the UAC asks again for your admission at the the first time:

Because the ISP client starts with the systems language we strongly suggest to do the basic configuration in the text file before you start the GUI, otherwise it maybe in german:

basic configuration (directly within the configuration file)
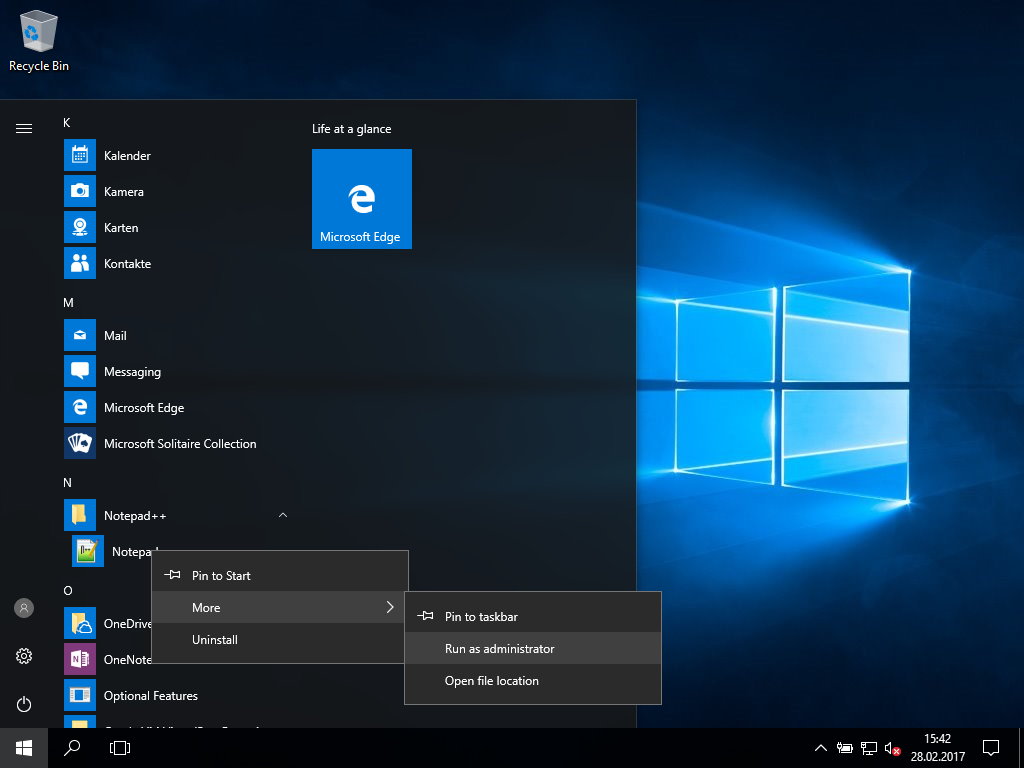
- Open a texteditor, e.g. notepad, even if you're already Administrator, right click and choose Run as Administrator – otherwise you cannot save your config file in TSM folder.
- UAC asks another time for confirmation ..
- then you can enter the basic settings (see introduction above) as
SErvername– an unique identifier for the TSM server, we suggest to take the server's nameTCPServeraddress– the FQDN of the TSM-ServerTCPPort– the Port TSM is listening for the clients connectionsNODENAME– Name of your client as it is registered at the TSM serverPASSWORDAccess GENERATE– this tells the client to store the password in the registryLANGuage AMENG– sets american english as the language for CLI and GUI
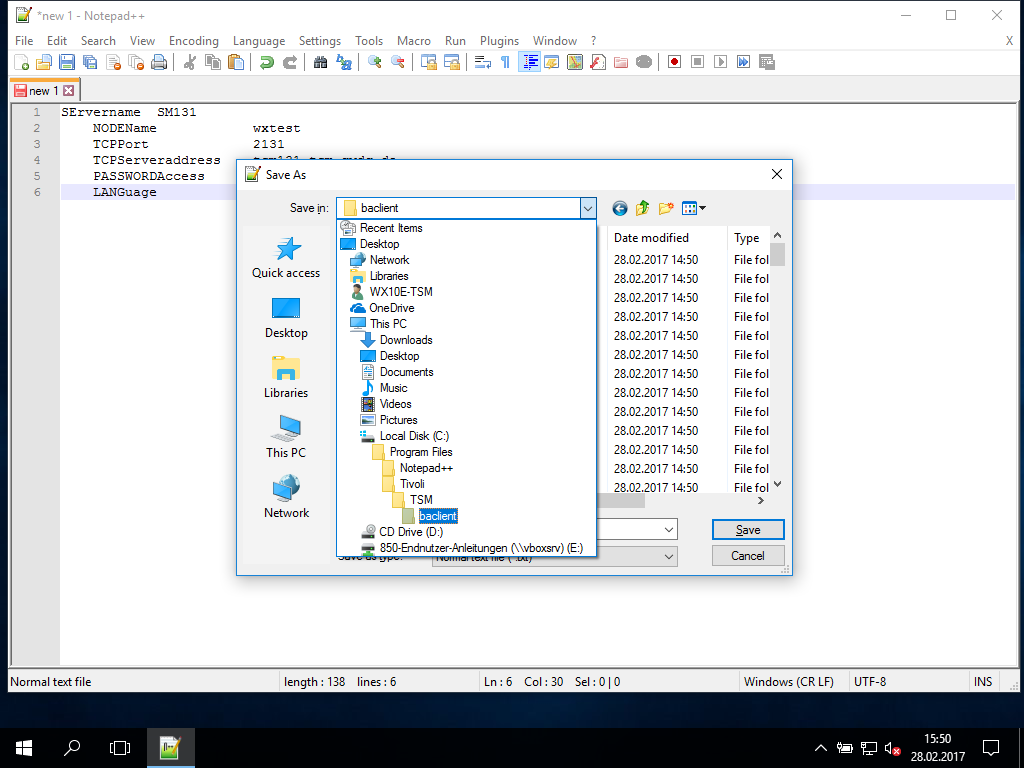
- save the file as
dsm.opt…
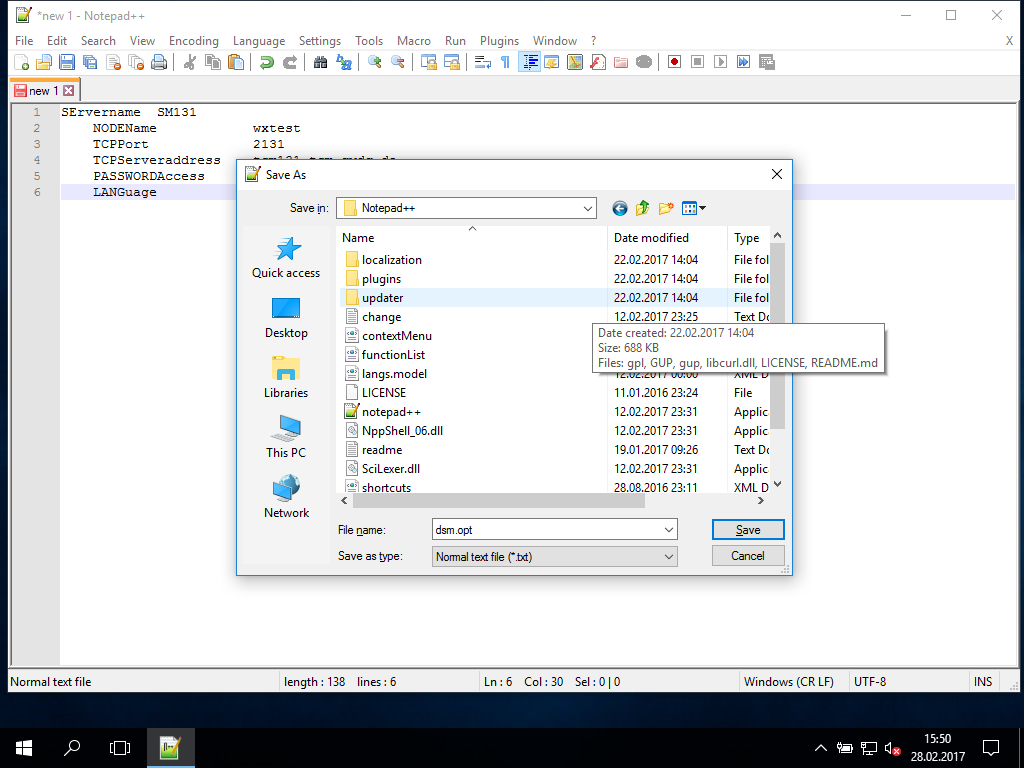
- … at
C:\Program Files\Tivoli\TSM\baclient\
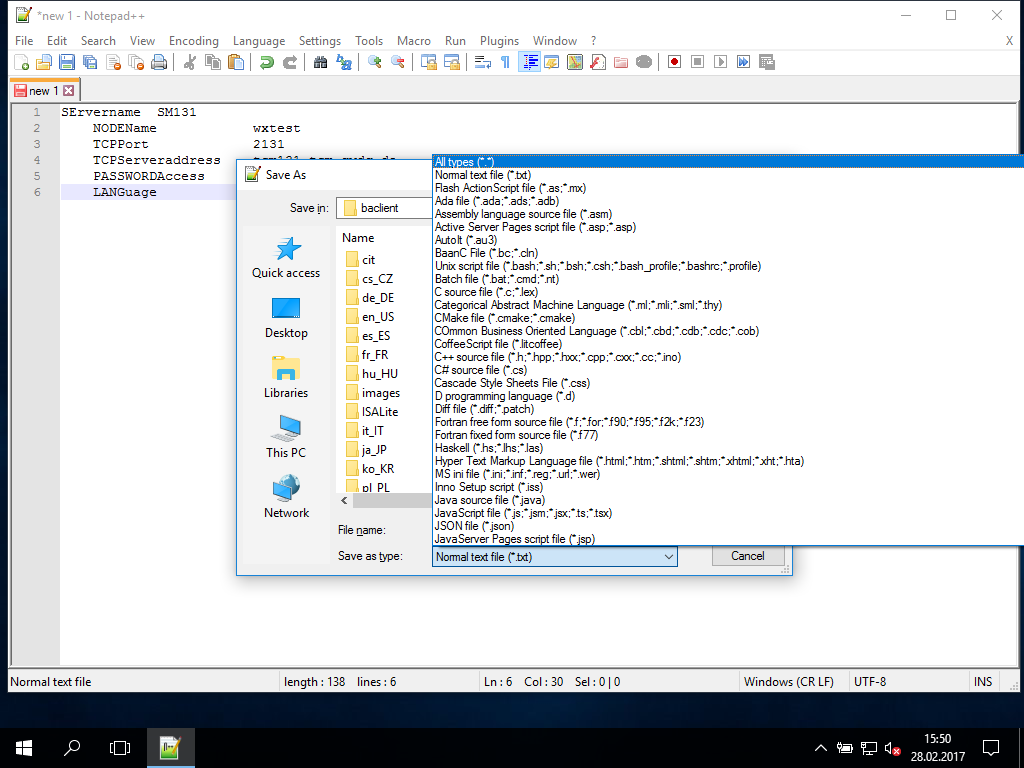
- make sure, it is an
.optfile and no text file (.txt). Using notepad++ you have to change the type:
basic configurations in the graphical user interface (GUI)
- As mentioned before, you'll find ISP under Recently added in the Windows menu right after installation
- It's also located at I ⇒ IBM Spectrum Protect
- Every time you start the TSM client software you have to confirm access rights:

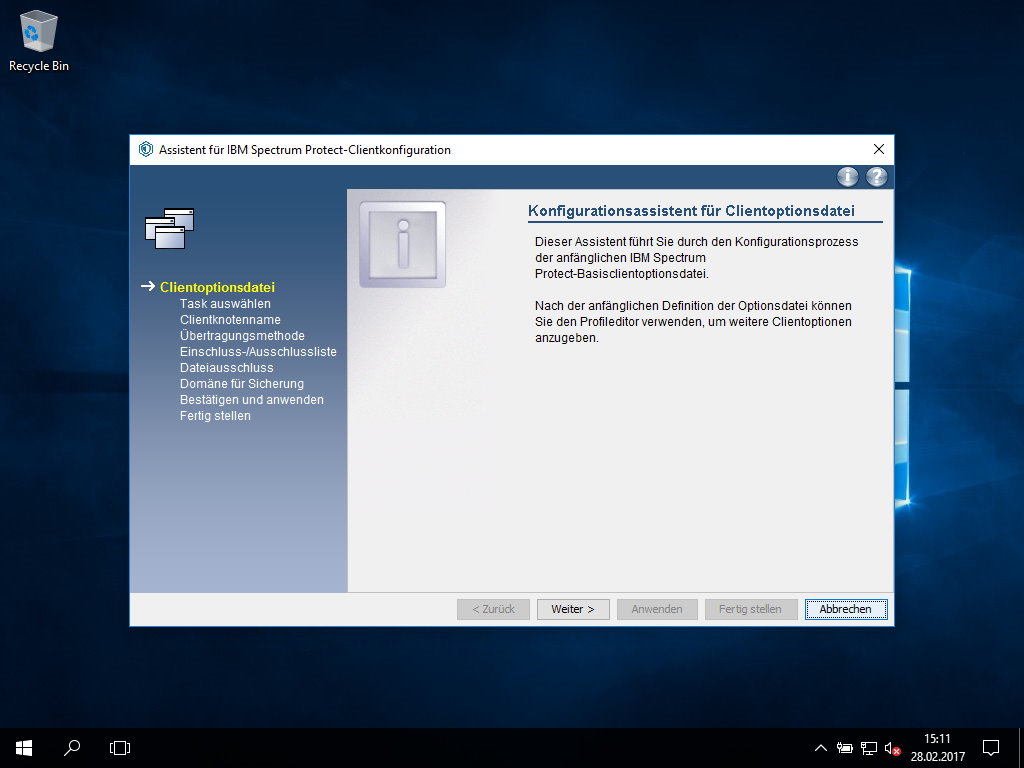
- At the first start of TSM, it will look for the configuration file dsm.opt. If no such file can be found, the configuration wizard will be started:
first backup (CLI)
using the CLI the initial backup can be initiated easily, just type:
tsm> i
the ISP client starts to backup all configured DOMAINS using the incremental approach.
You can speed up the backup bypassing the all file tests using the -absolute option:
tsm> i -absolute
using the -absolute option forces the ISP client to backup all data (except for paths excluded by exclude rules) even if they are already stored on the ISP server. So do not use this option for regular backups, it will increase the backup time as well as the occupied backup sapce on the ISP server.
Automation
"DSMCAD vs. DSMSCHED"
First, you have do make a descision: Should the backup service run continuously or only if triggered intentionally?
Because the TSM Schedule service (DSMSCHED) needs some memory, IBM invented a solution (called DSM Client Acceptor Daemon (DSMCAD)) to start it right at the moment when it's needed and save memory in the meanwhile. This was of great importance as memory was a rare resource, a couple of years ago. Today the memory consumption vanishes compared with other services running on a modern PC or server.
Therefore the question has to be asked differently:
Should only backups be done or is there a need to run a web based client on your PC / server?
Obviously running a webserver for the web based client might be a critical security issue, so we strongly suggest not to configure the webclient. If you do not, there's no need to use the DSMCAD for starting the DSMSCHED.
using linux it's completely different: the most common approach for linux is to use the DSMCAD, therefore IBM provides a start / init script for the DSMCAD but just a few informations for starting the DSMSCHED without DSMCAD.
Detailed information you can find in the IBM documentation.
Configuring the DSMSCHED
Best configure the DSMSCHED using the GUI, manually or by using powershell it a mess.
Testing the scheduler configuration
A soon as the scheduler is started, it should ask the server for it's schedule to run the backup. Unfortunately the scheduler isn't reliable. Therefore run the request manually:
</file> or in the Windows cmd line
dsmc.exe q sched
This command should return all schedules associated with the node. Usually the scheduler daemon logs this request in it's log file. So please check the scheduler log for new entries referring to the associated schedules.