Table of Contents
GWDG Horizon Dashboard Overview
This manual provides a quick help for using the cloud.gwdg.de dashboard.
To login:
Authenticate using: Keystone Credentials
Domain: gwdg
User Name: your academic email (e.g. myname@gwdg.de)
Password: your Password
Compute Panel
Project → Compute → Overview
After you are given the access to cloud server self-service, you can monitor and manage your account using cloud.gwdg.de . The first page, shows you an overview of the resources assigned to your account.
In Limit Summary section, you can check the amount of the free resources of your account. The size of the instance that you can create is limited to the amount of free resources.
Project → Compute → Instances
By selecting the Instances from left menu bar, you can create a new instance or manage the old ones (explained here ).
This page shows a list of all your instances and their related information such as IP address. By clicking on the name of each instances, you can gain more information, see its latest logs, or connect it via console.
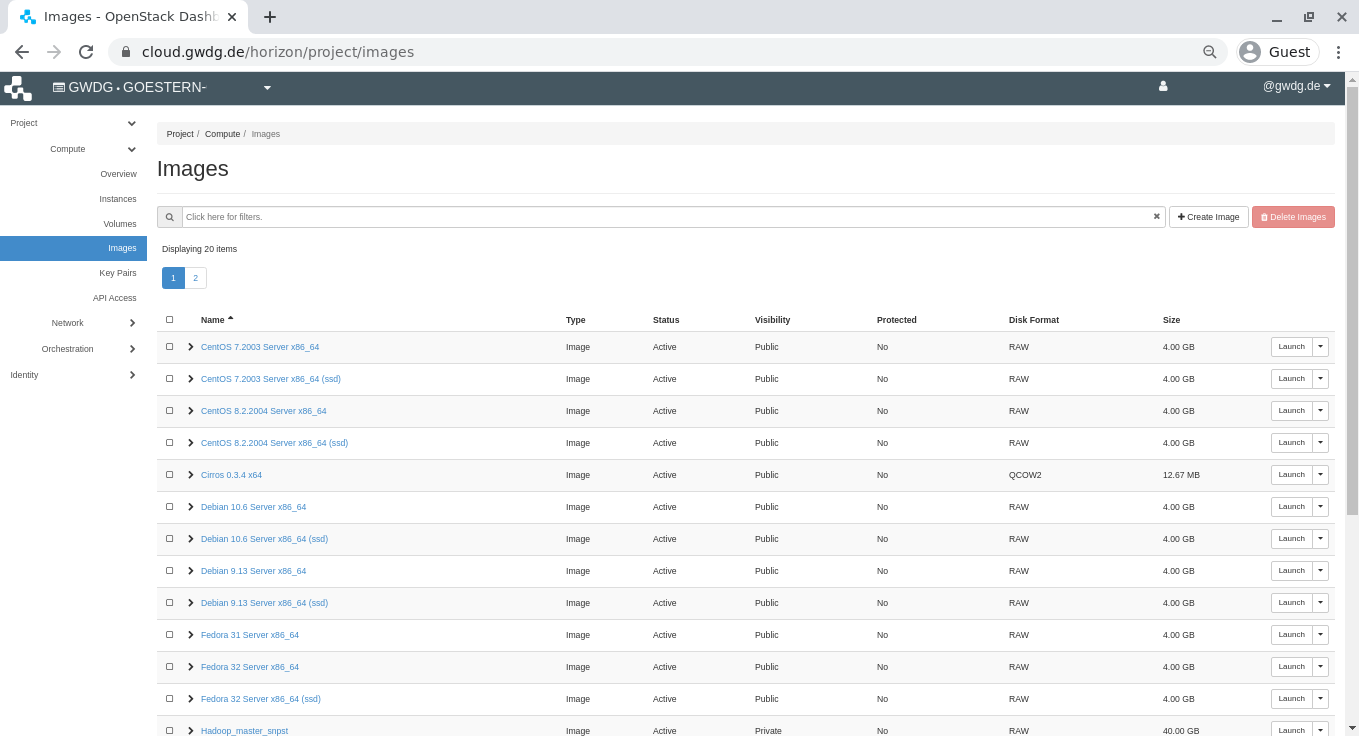
Project → Compute → Images
Project → Compute → Key Pairs
In this page, a list of your public ssh keys is displayed. You can add or remove the public keys which you use to ssh an instance. Notice that a newly added keys will be copied inside the next created instances. If you have a new key, you need to copy them manually inside the already existing instances.
Volumes Panel
Project → Volumes → Volumes
In this page, you can create/remove a volume. Then attach the volume to an instance or detach it from an instance (explained here ).

Network Panel
Project → Network → Security Groups
Before you launch an instance, you should add security group rules to protect your instance and also to enable users to ping or use SSH to connect to the instance. In this page, you can manage the security groups and their rules (explained here ).

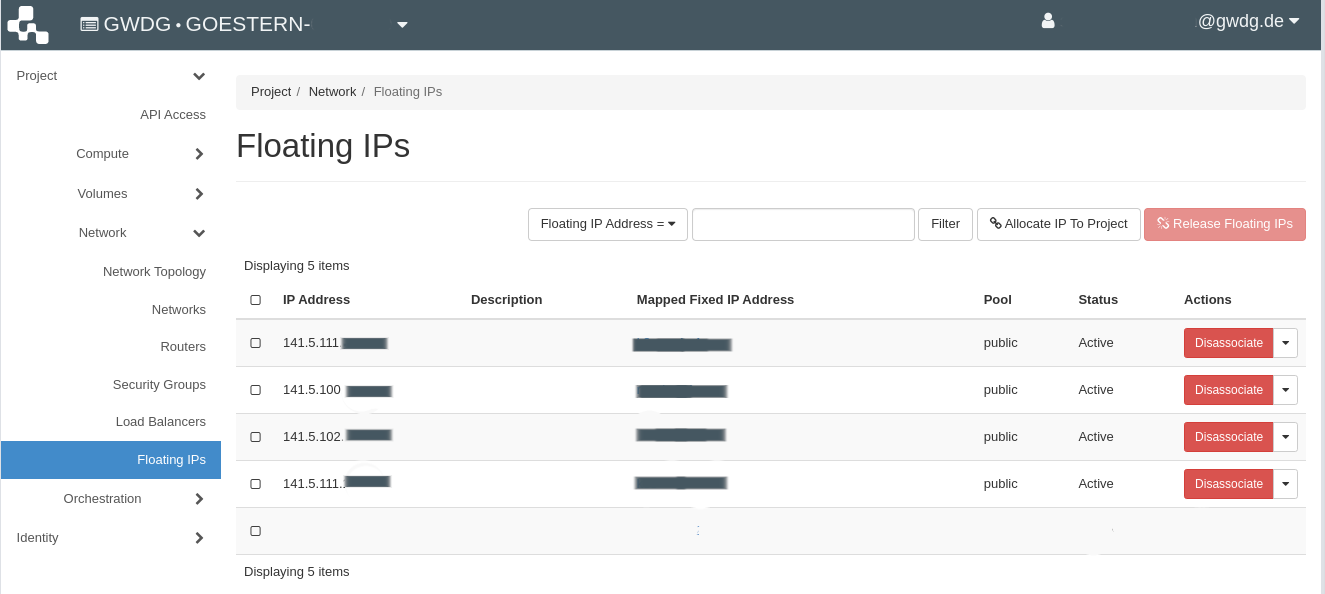
Project → Network → Floating IPs
If you need an external access to your instance (such as SSH) or the service running in your instance should be reachable from outside, you need to associate your instance with a floating IP. In this page, you can manage the floating IPs which are allocated to your project (explained here ).


