Cable Management System
Active and passive components as well as networkcabling can be documented in CabDoc. Known local IT administrators can get access to the software.
A complete documentation can be found in the online manual.
A form to call a local administrator can be downloaded here.
- Access to CabDoc
Connect togwd-wints1.top.gwdg.deby RDP.
- Terminalserver login
Login to the terminalserver with a valid GWDG-Account.
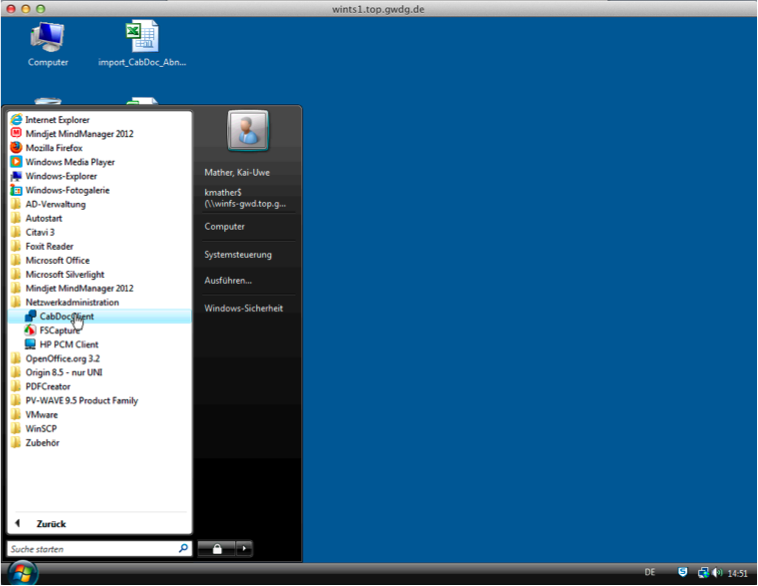
- Start CabDoc client
Click Start|Alle Programme|Netzwerkadministration and open CabDoc-Client.
- Initial network drive mount
The first time you start the CabDoc client you have to mount a network drive. This step is necessary only one time for every user. The username and password can be requested by e-mail to support@gwdg.de with the subject “CabDoc Password”.
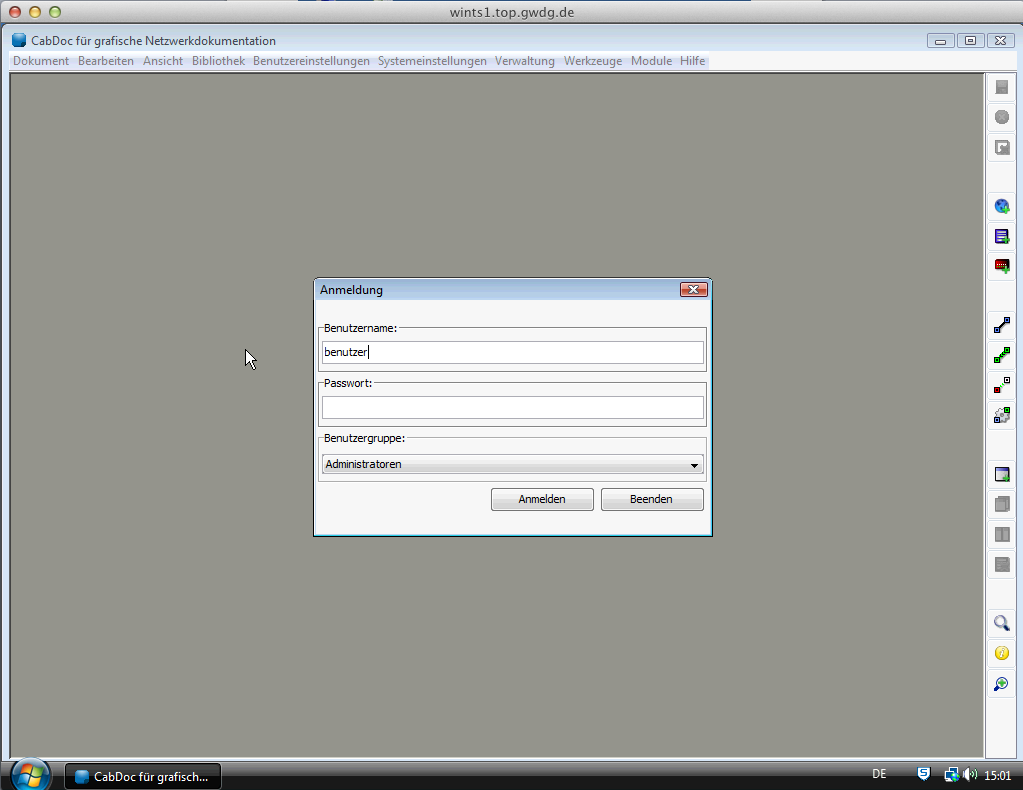
- Login to CabDoc
To login to CabDoc a local user account is requiered. The initial password will be sent to you with the login data for the network drive. It has to be changed after the first login. Take care that you have to use letters in upper and lower case and additional signs except exclamation mark.
Please logoff after your work with CabDoc to free the licenses because there are only five concurrent users allowed. Idle sessions will be killed after one hour. Unsaved changes will be lost (only new infrastrukture elements not patches).
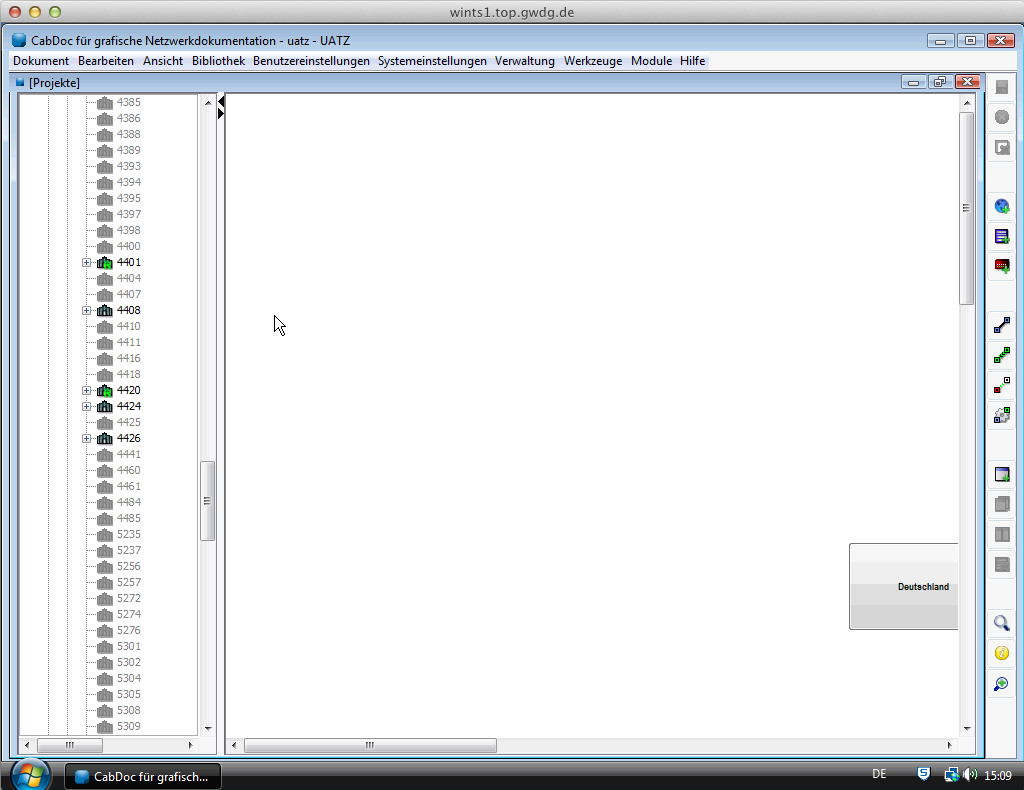
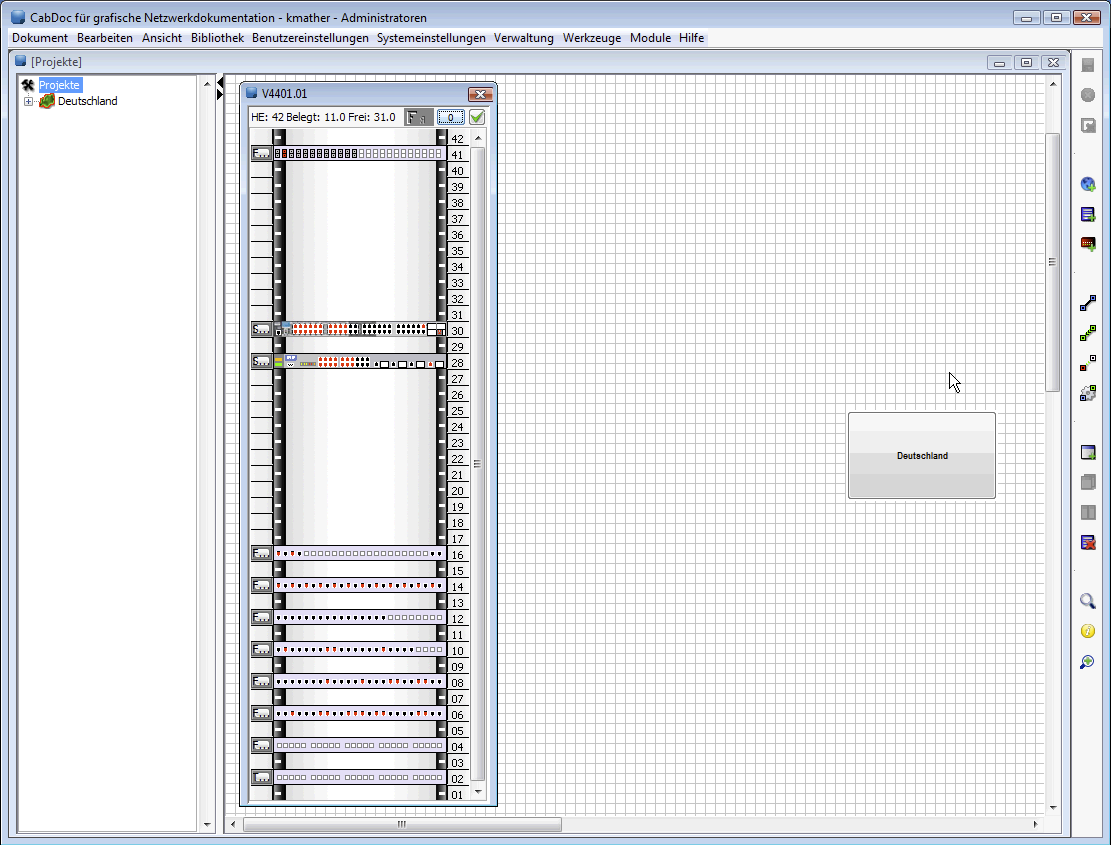
- Object tree
In the object tree on the left side only that buildings are visible that the user has the right to view.
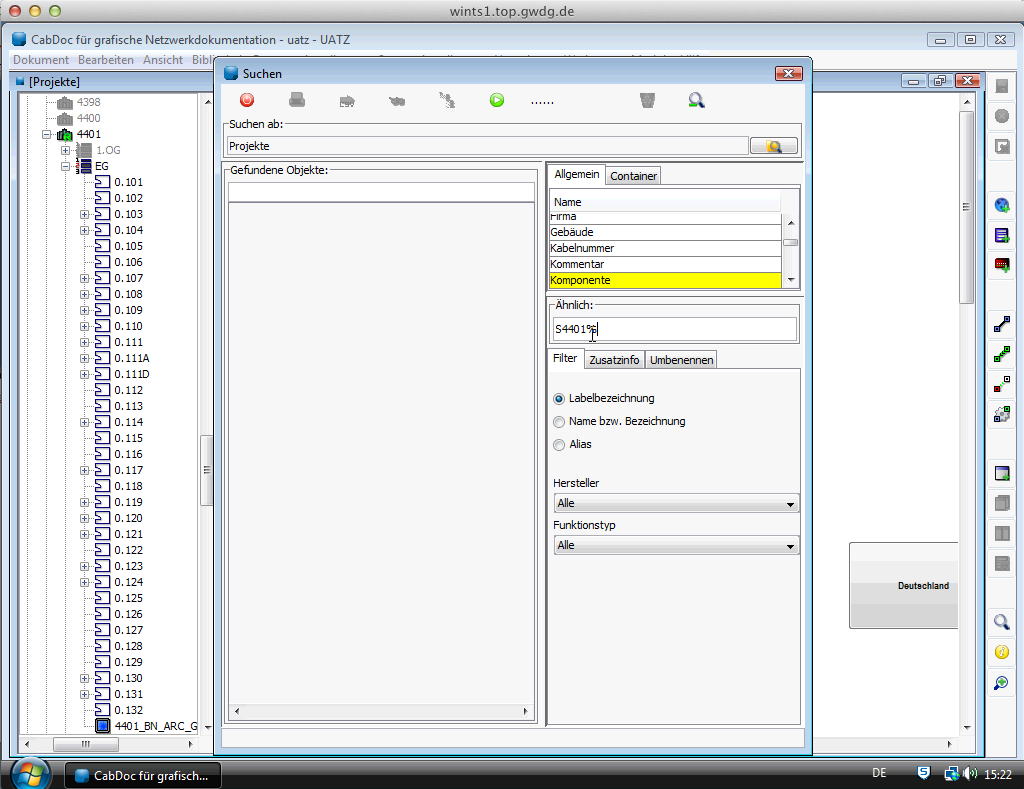
- Search and open a building
Click the „+“-sign beside the building that you want to open that building. You are now able to navigate through that building. You can use the search by clicking the loupe oder press F3 to search and find a cabinet an directly navigate to it. Choose the type of component that you want to find enter the name or a part of it beginning and ending with %-sign as wildcard and click the search button. For example to find the switch „S4401-01-01”, you have to enter „S4401%“. The search result includes all componentes that start with the enterd search string. Double click the component that you want to open. You now have the choice to switch to the component in the tree or to open the component.
- Patch
Open the required cabinet.
Click button on the right side. The patch dialog opens.
You have the choice to enter some informations about the type, length an cablenumber of the connection. To choose a cable type the used cable has to be added to the user cable library. Adding cable from the system cable library to the user cable library is explained in step 11.

Once you have entered all informations click the start port
and the the end port.

Patch complete.
- remove Patch
To remove a existing patch right click one of the ports and then click Patchverbindung lösen in the context menu.

- Change patch
To change a existing patch click on the right side. Click the port that you want to change and the click the new target port. Patch changed.
- Copy cables into the user cable library
Click Bibliothek|Systemkabelbibliothek in the menubar.
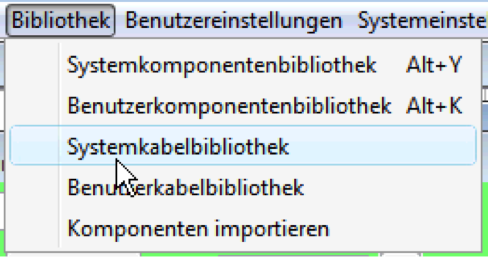
Choose the cable that you want to copy and click Bearbeiten|Kabel in die Benutzerbibliothek kopieren. The cable is now available in the user cable library.
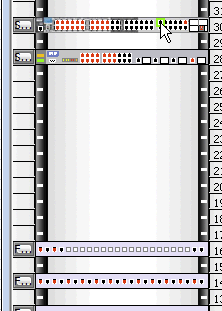
- Possible port conditions in CabDoc.

(from left to right)
Fiber: no connetion between panel and panel, no patch / only connection between panel and panel / only patch / Complete connection
Twisted pair: no connetion between panel and room, no patch / only connection between panel and room / only patch / Complete connection
- Description of active and passive components
A guideline how the components have to be described in the GÖNET can be found here.


For further information use the online help in CabDoc.
Last change: 29.06.2015